How to soundproof a room
Here are cheap, simple ways to tune up your home studio and keep the peace with the neighbors.

We may earn revenue from the products available on this page and participate in affiliate programs. Learn more ›
These days, it’s easier and more affordable than ever to make amazing recordings at home, whether you’re creating music, podcasts, voiceovers, presentations, or video blogs. But home recording presents some serious challenges, from noisy neighbors to nuisances created by your room itself. Fortunately, you can make effective improvements without getting a Ph.D. in physics, breaking your lease, or draining your bank account. Here’s our advice on how to soundproof a room—and get your recordings on the right wavelength.
Soundproofing a room versus acoustic treatment
The first thing to know about how to soundproof a room is that you won’t actually be soundproofing in the literal sense. Soundproofing blocks the sound inside your space from escaping to the outside and prevents outside sounds from leaking into your space. You don’t hear cars, dogs, or leaf blowers, and your neighbors don’t hear you hammering out your guitar riff.
This type of isolation is what you’ll find in professional recording studios, which are built from the ground up to achieve a perfect acoustic environment. Home studios, on the other hand, often are wedged into awkward rooms that may double as sleeping, working, or even parking spaces, making soundproofing extremely difficult and costly.
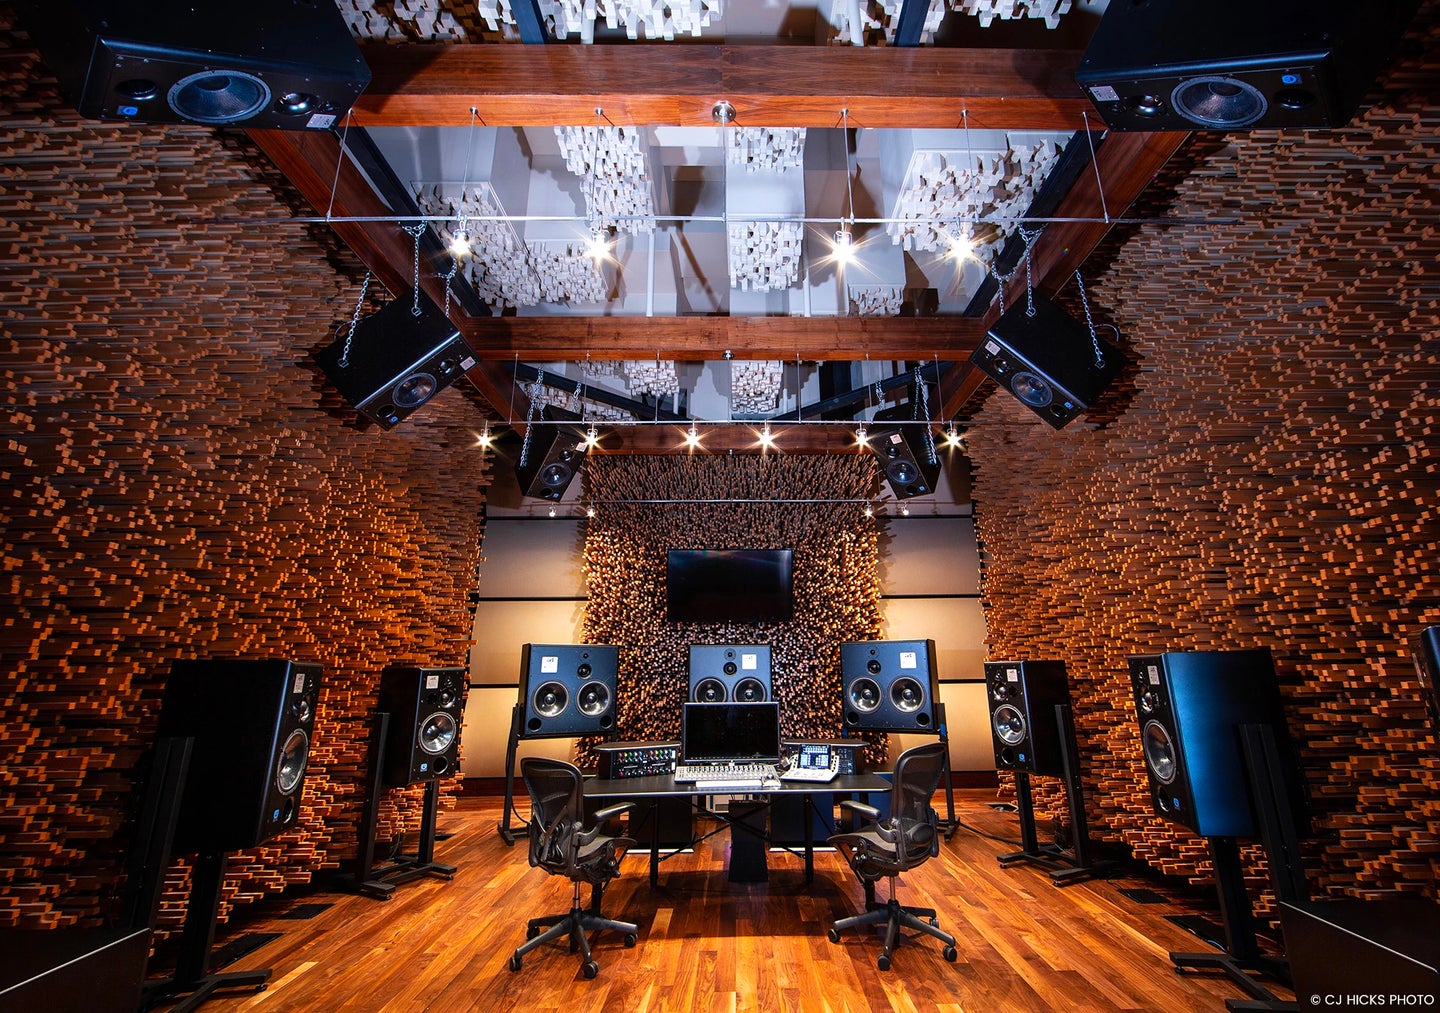
When most people talk about room soundproofing, they’re actually referring to acoustic treatment, which shapes the behavior of sound inside a space to provide a true, accurate sonic experience. The ideal recording studio uses a combination of both methods. But home studios are about compromise, making the most of space, budget, and physical limitations.
Sound Wave 101

Solving the acoustic problems in your room starts with understanding what’s causing them in the first place. Put simply, it’s all about following the path of a sound wave. Sound energy is generated when something vibrates in a medium such as air. When a sound source vibrates, it creates accordion-like pressure variations that emanate in all directions, sort of like the way ripples radiate out from a pebble thrown into a pond. These patterns of compressed and stretched air are sound waves.
Reflections and reverb: Sound in enclosed spaces
Sound waves travel through any medium, including gases, liquids, and solids. What happens when a sound wave hits an obstacle? Depending on the size of the wavelength of the sound and the hardness, density, and thickness of the surface it hits, it’ll be absorbed, reflected, or pass right through.
In enclosed spaces, direct sound travels straight to your ear or microphone, while reflected sound is slightly delayed as it bounces off surfaces on its way to you. As these reflections continue to bounce off room surfaces, creating second and third reflections, and so on, they build up, generating reverberation, or reverb, which is the sound that’s heard in a space after a source has stopped sounding. (A great example of reverb is that awesome echo you enjoy when you sing in the shower.) These frequencies reinforce each other and cancel each other out, creating peaks and valleys in volume, even though your speakers and ears are working just fine. These anomalies lead to two very common issues:
Room modes are resonances that exist in a room. They create spikes and dips at specific frequencies: You might hear buzzing every time you play certain bass notes, you may notice exaggerated low frequencies, or you might hear no bass at all.
The other is flutter echo, a rapid series of noises created by sound repeatedly bouncing back and forth between two untreated parallel surfaces. You know that metallic twang you hear when you clap your hands in a stairwell or bathroom? That’s flutter.
How to soundproof a room: Start taming that room tone
At its simplest, a great-sounding home studio should strike a comfortable balance between live (echo-ey) and dead (muffled), and should not emphasize or de-emphasize frequencies. Basic room treatment involves two techniques: managing mid- and high-frequency reflections with a balance of absorptive and diffusive materials, and reining in bass anomalies with low-frequency absorbers.
Get to know your space
Improving your room’s acoustics starts with an honest assessment. Listen to familiar recordings to get a sense of your room’s acoustic characteristics. Study mixes with wide dynamic range and detail; commercial tracks are great references because they’re designed to translate to a range of listening environments. Audio engineers are partial to meticulously recorded tracks by Steely Dan and Roxy Music (hands up if you’ve ever heard Avalon booming through the arena sound system before a big concert); Jay-Z’s The Black Album and Radiohead’s OK Computer are also iconic references. Do your favorite records sound boomier or bassier than usual? Do they sound thin and wimpy? Make notes.
Find room modes by walking around while listening to music. You’ll notice that the bass might be loudest in corners of the room and practically nonexistent in other areas. You can also check for room modes by doing a frequency-sweep: Play a recording of an ascending sound wave; as the tone rises, listen for frequencies that stick out or vanish.
Do a flutter echo test: walk around clapping your hands and listen for the telltale “metallic” ring of flutter echoes.
Aim high: Absorptive and diffusive treatments

Conquering mid and high-frequency reflections means breaking the cycle of sound waves reinforcing and canceling each other out as they bounce around the room. The simplest way to do this is to apply surface treatments that absorb and scatter waves. There are numerous treatment options out there, from single panels to all-in-one packages and lines from top studio designers.
Absorptive wall panels
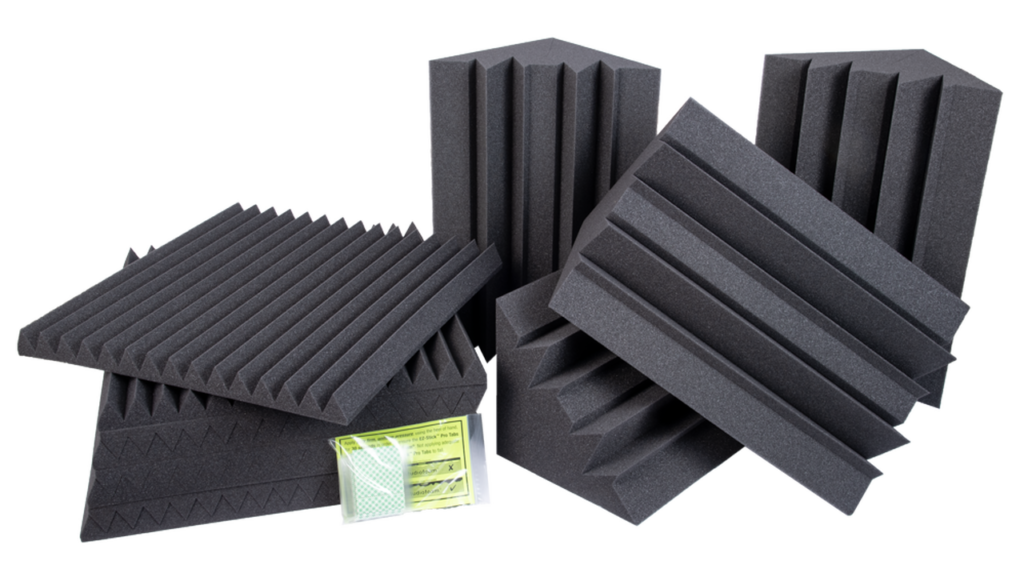
Acoustic foam panels work very well to absorb mid-to-high-frequencies and squash reflections. Absorptive wall panels and ceiling tiles are available in a range of thicknesses, dimensions, surface patterns, and Noise Reduction Coefficient ratings, which measure absorption effectiveness. The higher the frequency, the shorter its wavelength—frequencies at the top of our hearing range have wavelengths of just a fraction of an inch—so the thicker the foam, the more frequencies you’ll treat. Standard panels run about two inches thick.
If you’re a DIYer looking for how to soundproof a room, you can make your own treatments from fiberglass or rockwool, which are excellent sound-deadening materials. Installing carpeting won’t help much with absorption, but it can cut down on reflections coming from a hard floor.
Acoustic diffusers
Unlike acoustic panels that are designed to absorb sound, acoustic diffusers scatter sound in randomized patterns to break up reflections. Use diffusors to manage resonances and flutter echo. Diffusive panels are available in a range of surface patterns and sizes; applying them involves a bit of trial and error, depending on the severity of your acoustic issues. Bookcases loaded up with books and gear also make great diffusers.
Never try to soundproof walls with materials that aren’t rated for fire safety, such as egg crates, blankets, and packing materials. Use nontoxic materials that are purpose-designed, and always check fire ratings.
Mirror, mirror on the wall: Placing panels
Here’s a great trick for dialing in the ideal spots for wall treatment: Have a friend hold a mirror against your walls and watch from your listening position as they slide the mirror along the surface. The point where you can see one of your speakers in the mirror is a sound reflection point; that’s where you should place treatment. (Remember to check the ceiling and the wall behind you!)
All about that bass (trap)
In small studios, the biggest acoustic offenders tend to be bass frequencies, which are so long that they extend beyond your room dimensions, making them difficult to manage.
Because bass frequencies have such long wavelengths, foam acoustic panels would need to be several feet thick to absorb them. (For perspective, the wavelength of a low E string on a bass guitar stretches more than 27 feet.) Instead, bass traps are the first line of defense for home studios. These large, thick absorbers typically take the form of triangle boxes or panels filled with sound-absorbing material. Bass traps are typically placed in corners, where low frequencies naturally congregate. Start by placing them in upper corners, to conserve floor space. If you have room, run them from floor to ceiling. You can build your own bass traps from fiberglass, rockwool, or foam.
Portable treatments

Say one day you’re recording a podcast and need to isolate your narrator, but the next day you’re tracking a group of instruments. Portable acoustic panels give you flexible sound control that you can adapt to different recording scenarios.
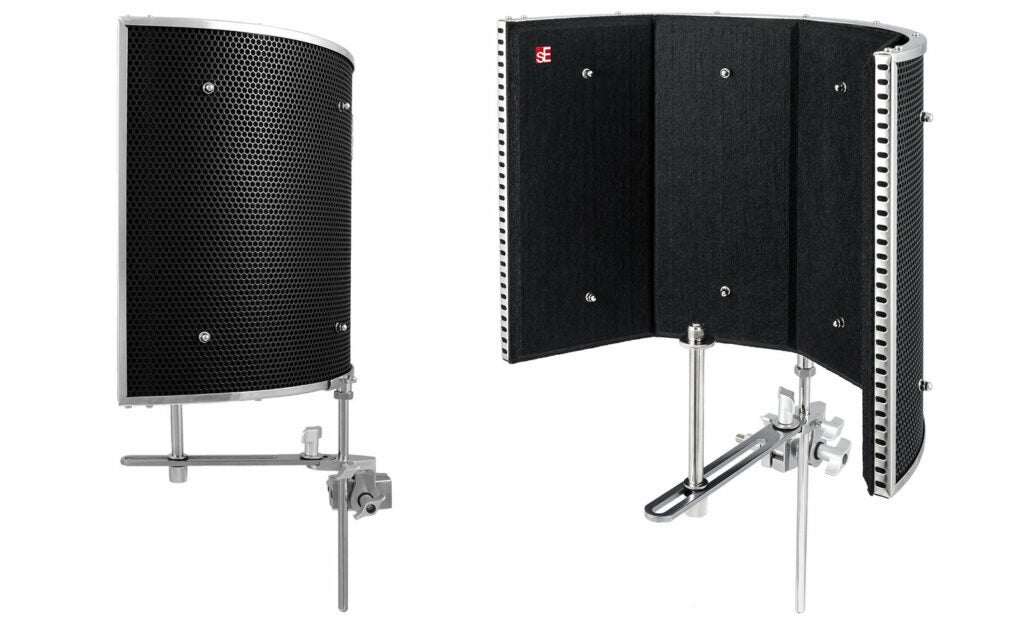
Stand-mounted acoustic panels, or gobos, can be moved around to create temporary recording areas or to separate musicians or speakers. If you record a lot of vocals—spoken or sung—you might benefit from a reflection filter, an acoustic shield that wraps around a mic to form a portable vocal booth.
If you’re feeling overwhelmed by these processes, suppliers offer prefab room kits, personalized design services, and free analysis software.
How to soundproof a room: Keeping sound contained
Yes, it’s very difficult to soundproof a room, but these tricks can help keep sound from leaking out of your space and outside sound from sneaking in.
Mind the gap(s)
Sound takes every opportunity to escape your studio through air and structures. When it comes to air gaps, doors are obvious culprits, but also look for spaces around air vents, outlets, and windows. Seal cracks and holes with stripping or acoustic caulk; block space under a door with a door sweep or draft stopper. Use a flashlight and a partner to root out and seal errant cracks.
Truly committed and ready to take isolation to the next level? Upgrade a hollow-core door to a solid model (or fill the door with spray insulation), and upgrade single-pane windows to double-panes.
Add mass
Loading surfaces with extra mass will cut down on sound transfer. If you can spare a few inches of space and you’re down for some advanced DIY soundproofing, consider adding a second layer of drywall or vinyl sound-insulation sheets to your walls, leaving an air gap between layers to further reduce sound transmission.
How to soundproof a room: More ways to bring down the noise
Minimizing noise in your studio calls for some literal out-of-the-box thinking. If you have the luxury to choose where you set up, avoid sharing a wall with a kitchen, bathroom, laundry room, elevator, or a sensitive neighbor.
Create some acoustic separation between your computer and your microphone by keeping them as far apart as possible. If you can, put your computer in a closet or in an adjacent room. If you use a laptop, keep it on a stand to allow extra air circulation, which will keep your laptop’s fans from kicking in as frequently.
If you’re feeling ambitious, line heating and cooling ducts with soundproofing duct liner.
Block sound transfer between structures by isolating contact points or breaking the path entirely. Professional studios decouple spaces by building floating floors and double walls. At home, keep gear and instruments off the floor, or place them on stands, rubber mats, or carpet. (Whether your speakers are on a desk or stands, add monitor isolation pads for more acoustic separation.)
Location, location, location
You can go a long way toward improving your studio sound without touching a hammer or spending a dime, just by placing your workspace correctly in the room.
Aim for symmetry, but avoid sitting in the center of the room, where room modes can build up. Face a short wall, rather than a long wall, to minimize bass issues. When you’re dealing with a window, orient your workspace toward the window, so your speakers can fire away from the window and toward treated walls and surfaces.
Orient your speakers and listening position in an equilateral triangle and set your speakers at a height that aligns with your ears. (Height-adjustable speaker stands make adjustments easy.)
You’ve got this
Acoustic processes sound complicated, but how to soundproof a room all boils down to simple physics. Introducing even just a few simple treatments will go a long way toward transforming the sound of your home studio. Take your time, be realistic about your budget and physical constraints, be open to trial and error, and you’re well on your way to creating a studio space that’s conducive to creating stunning mixes that will sound great everywhere. And that’s what it’s all about.
